Docker & Netbeans
Docker & Netbeans
Docker and NetBeans
This section shows you basic Docker tooling with NetBeans:
- Pull/Build Docker images
- Run/Start/Stop Docker containers
NOTE: NetBeans only supports configuring Docker Engine running using Docker Toolbox. This means that if you are running Docker for Mac or Docker for Windows then NetBeans cannot be used.
Configure Docker Host
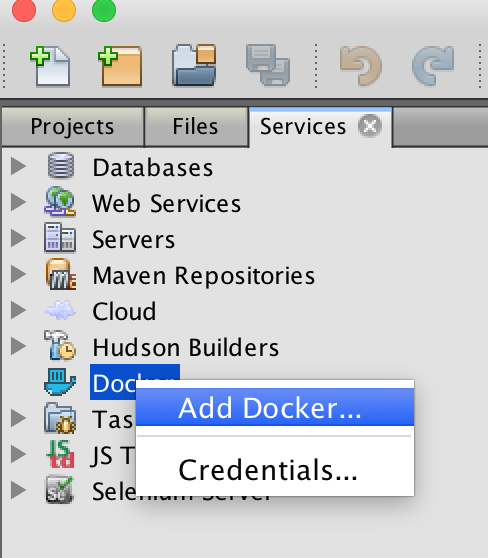
In “Services” window, right-click on “Docker”, click on “Add Docker...”
Specify Docker Machine coordinates, click on “Test Connection” to validate the connection:
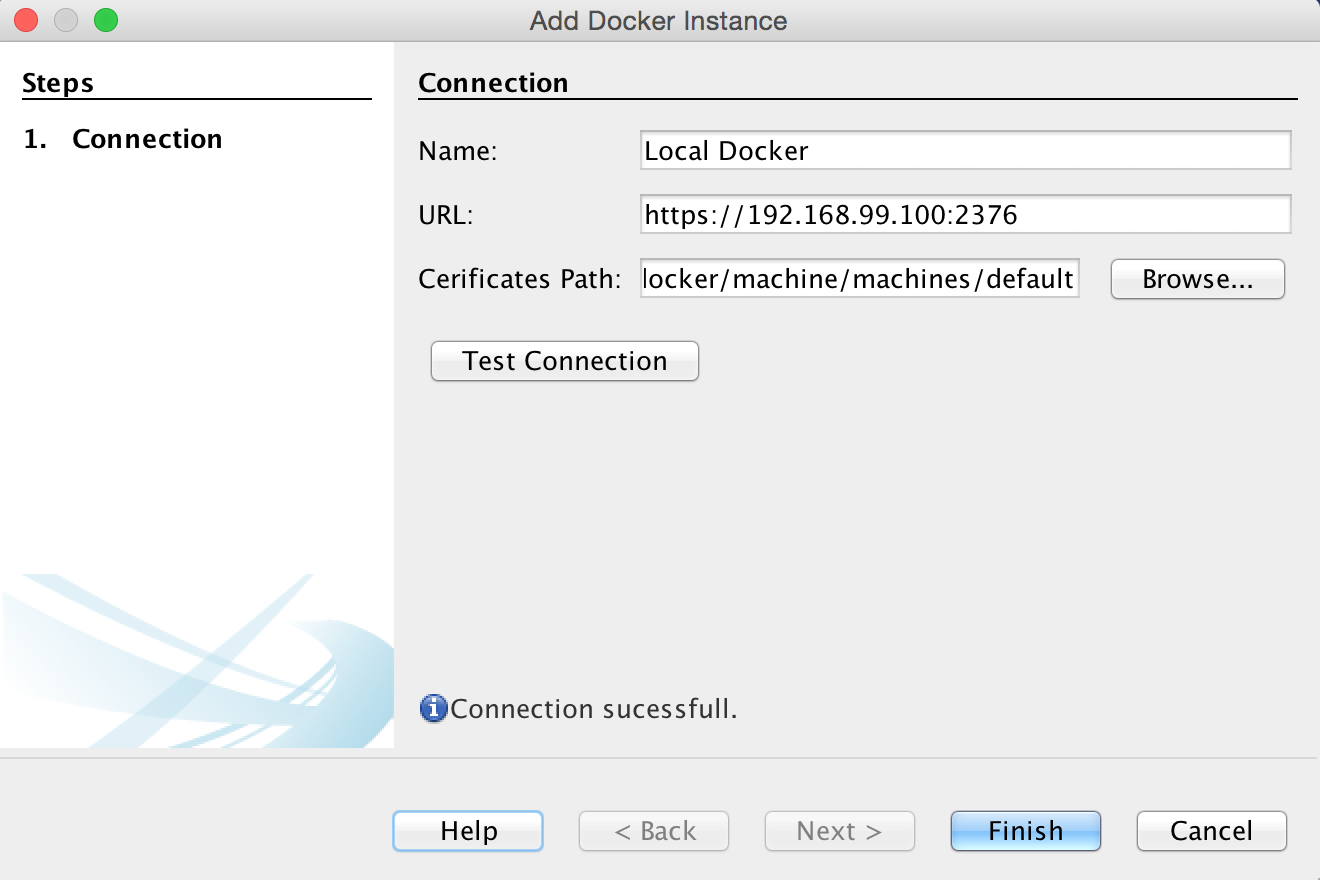
NOTE: No support for Docker for Mac/Windows, filed as https://netbeans.org/bugzilla/show_bug.cgi?id=262398[#262398].
Click on “Finish” to see:
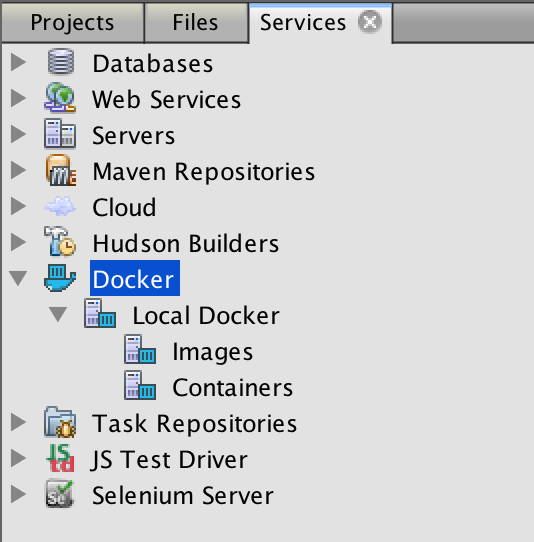
Expand the connection to see “Images” and “Containers”.
Pull an Image
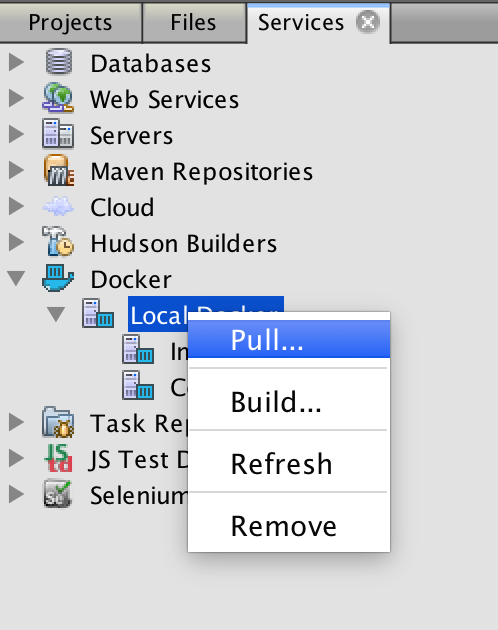
Right-click on Docker node and select “Pull...”.
Type the image name to narrow down the search from Docker Store:
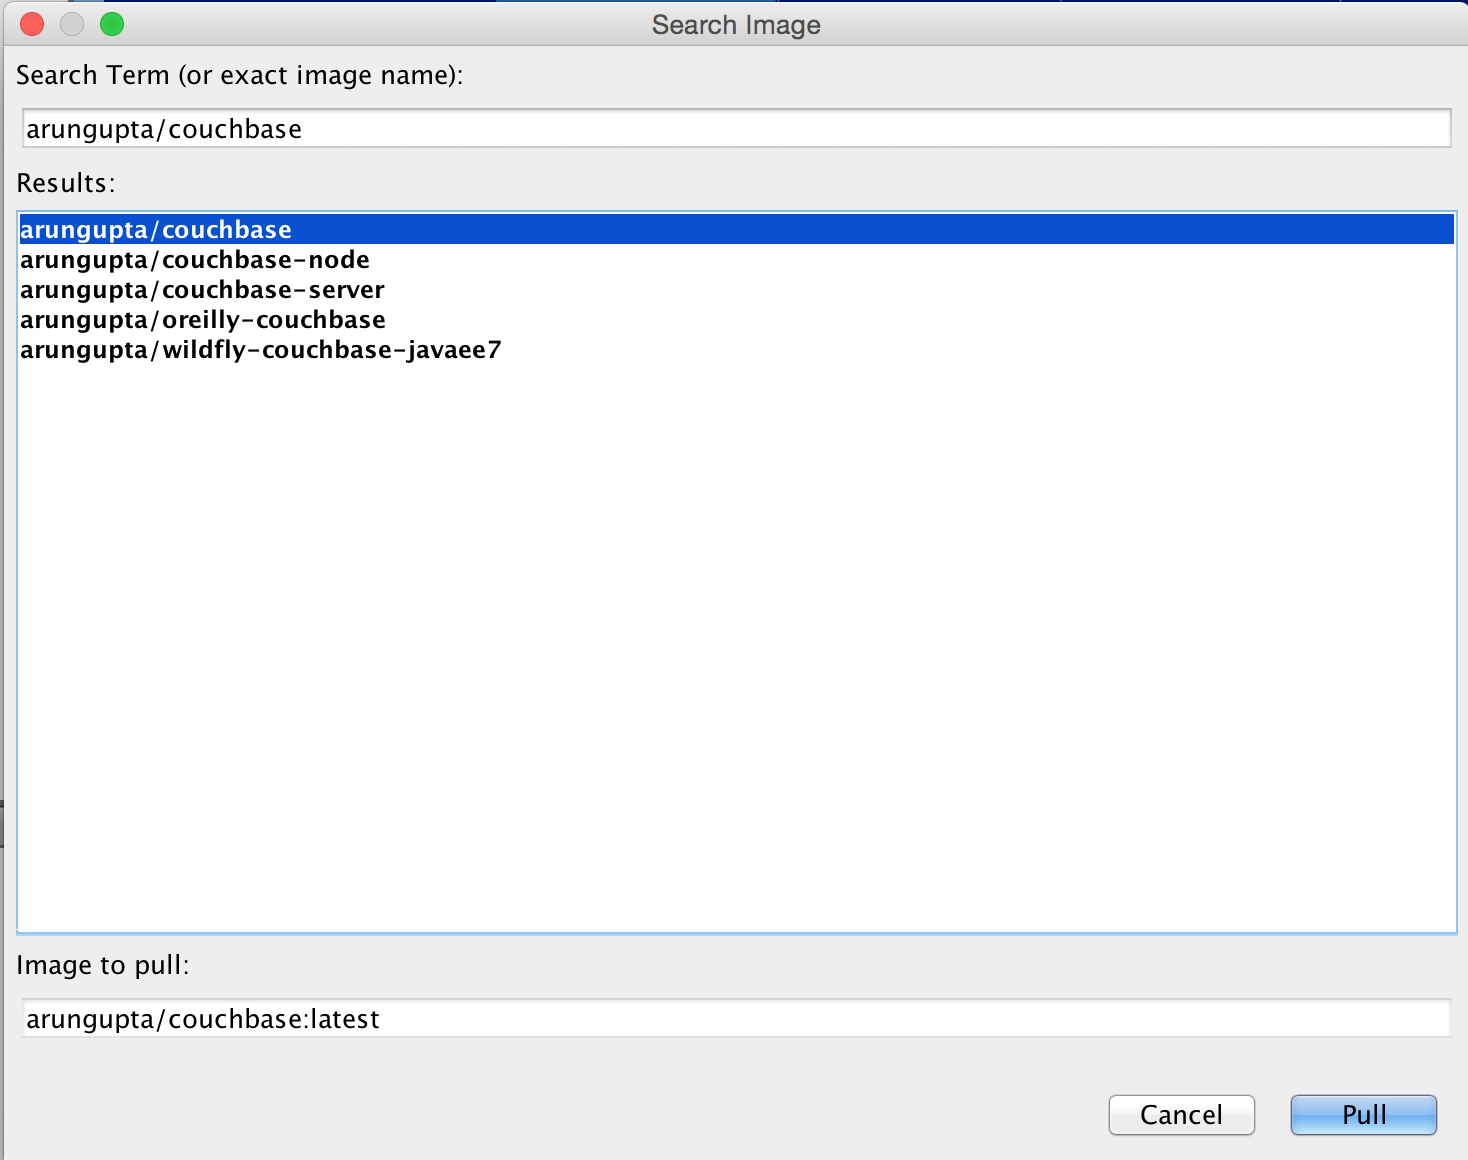
Click on “Pull” to pull the image.
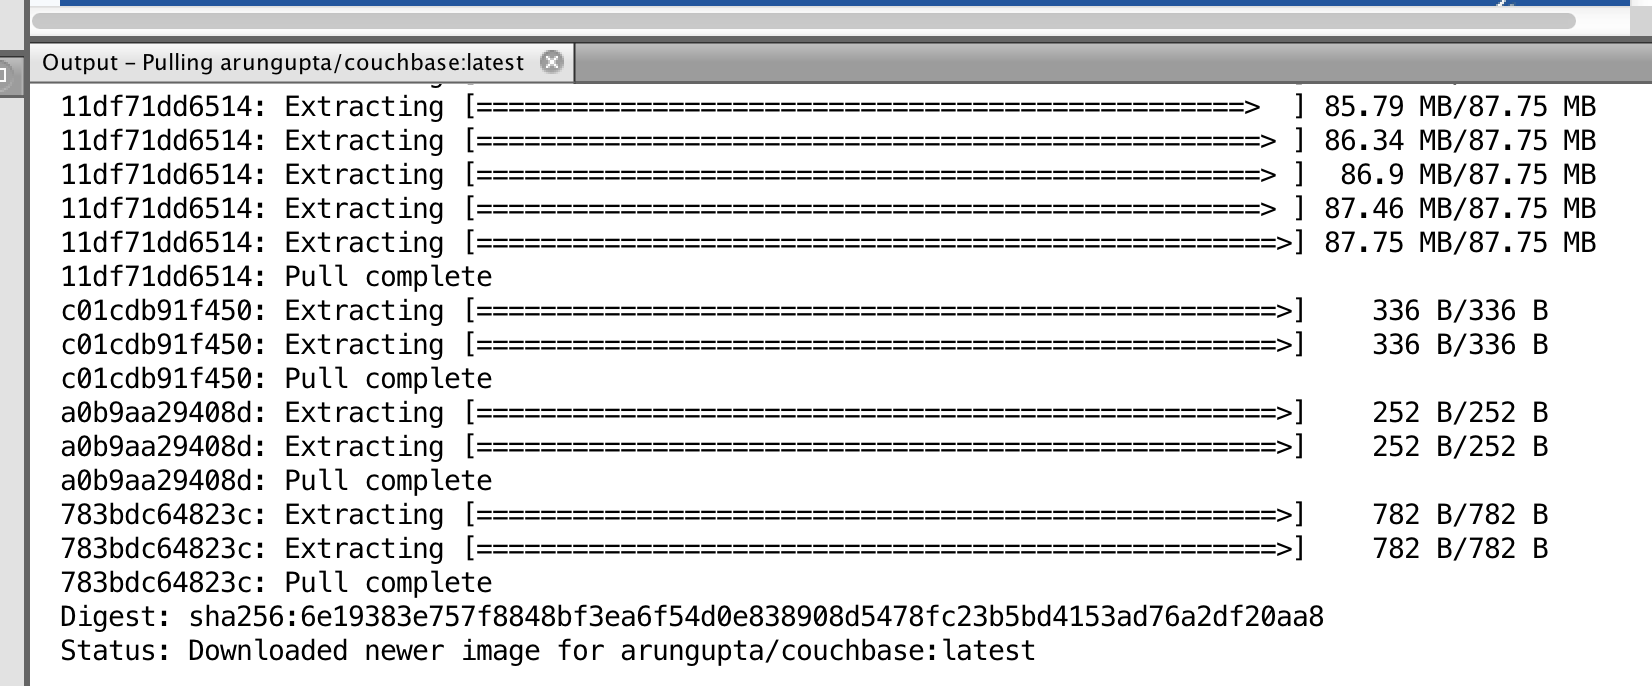
Log is updated in the Output window:
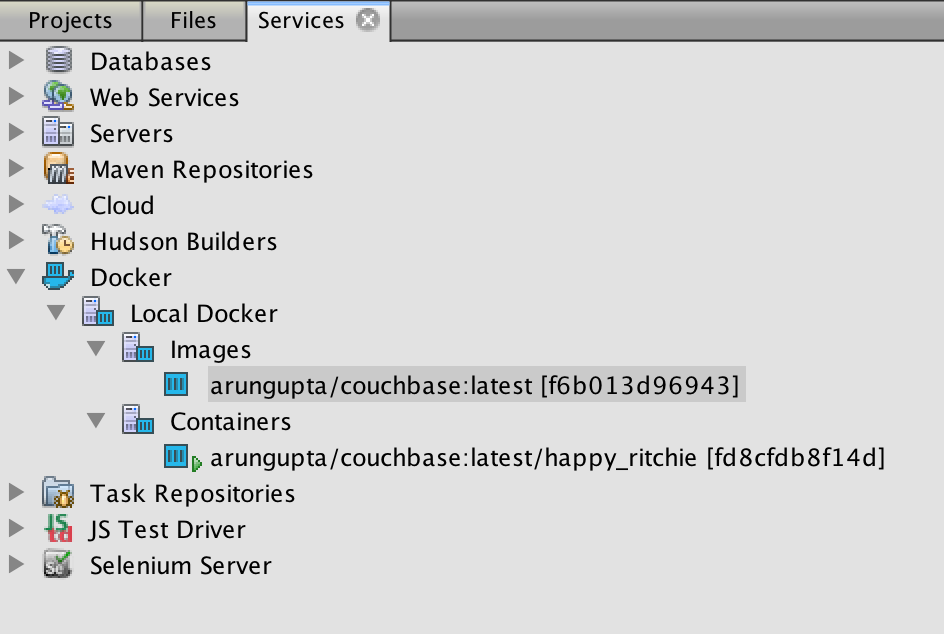
This image is now shown in Services tab
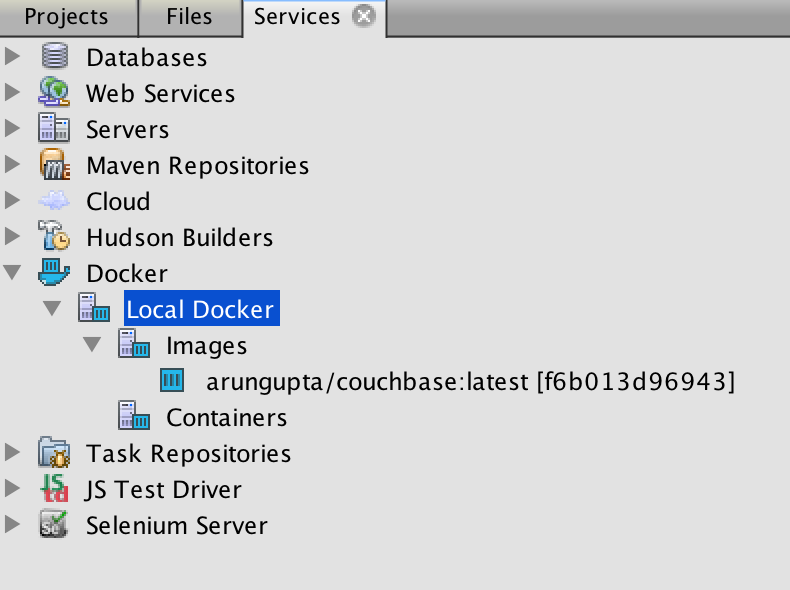
Any existing images on the Docker Host will be shown here as well.
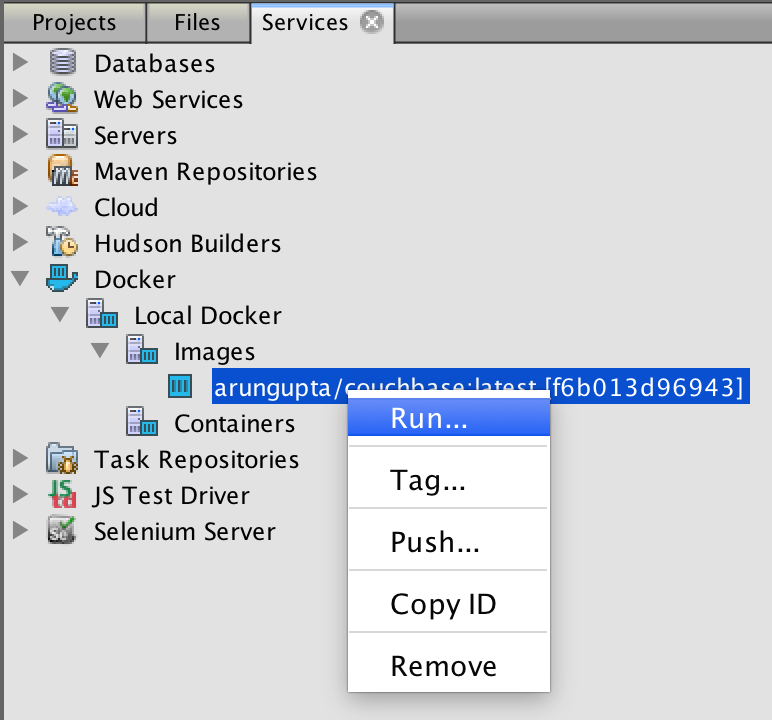
Run a Container
Select an image, right-click on it, and click on “Run...”.
This brings up a dialog that allows the options that can be configured for running the container. Some of them are:
- Container name
- Override the command
- Keep STDIN open and allocate pseudo-TTY (
-iton CLI) - Publish ports on Docker host interface (
-Por-pindocker runcommand)

Click on “Next>” to see the options to configure exposed ports. Click on “Add” to explicitly map host port “8091” to container port “8091”.
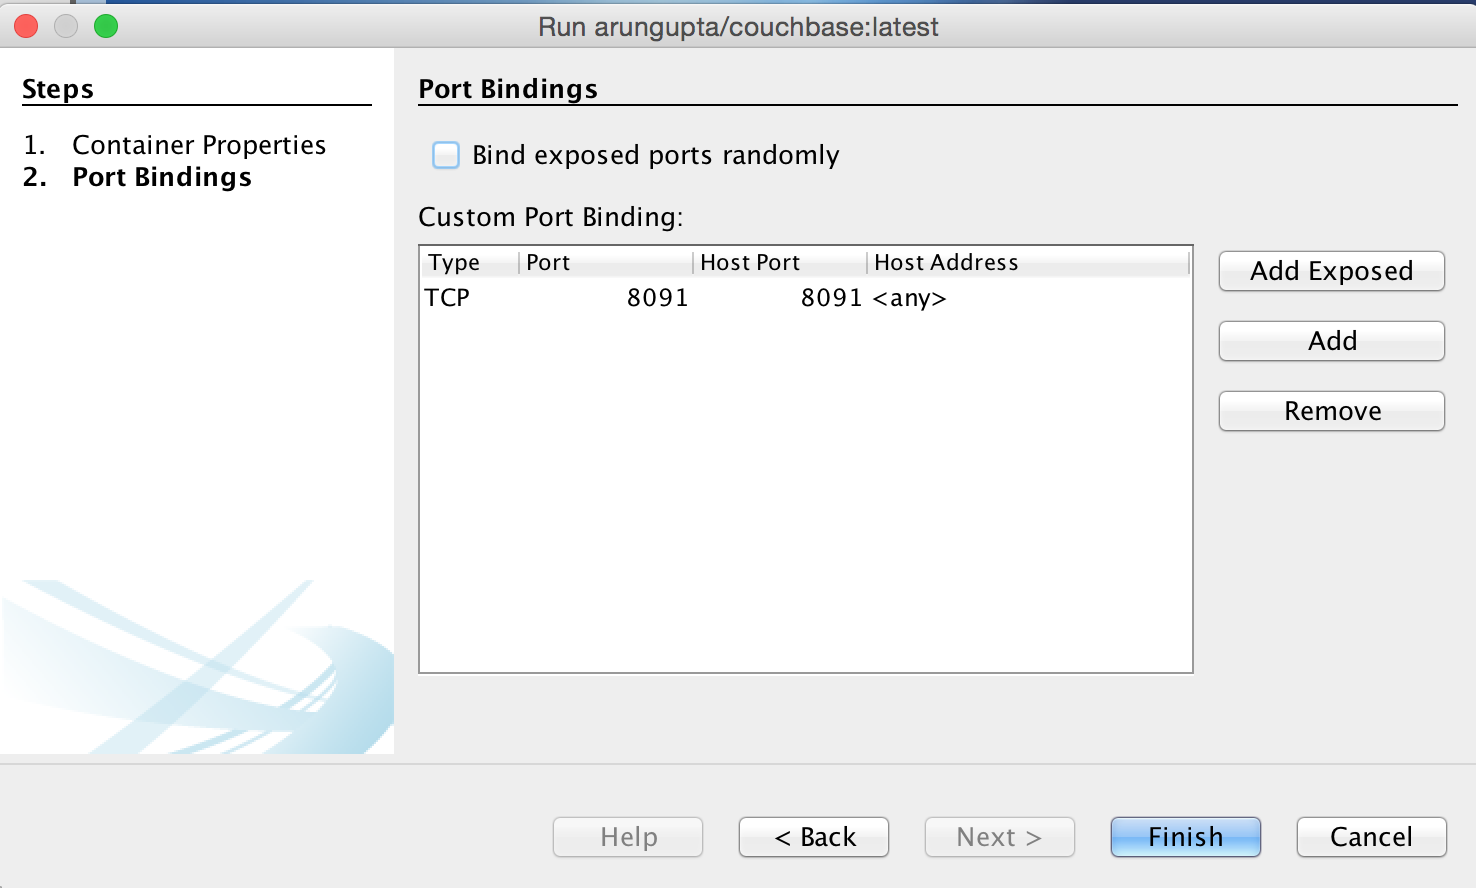
Click on “Finish” to run the container. “Services” window is updated as:
Log is shown in the “Output” window:
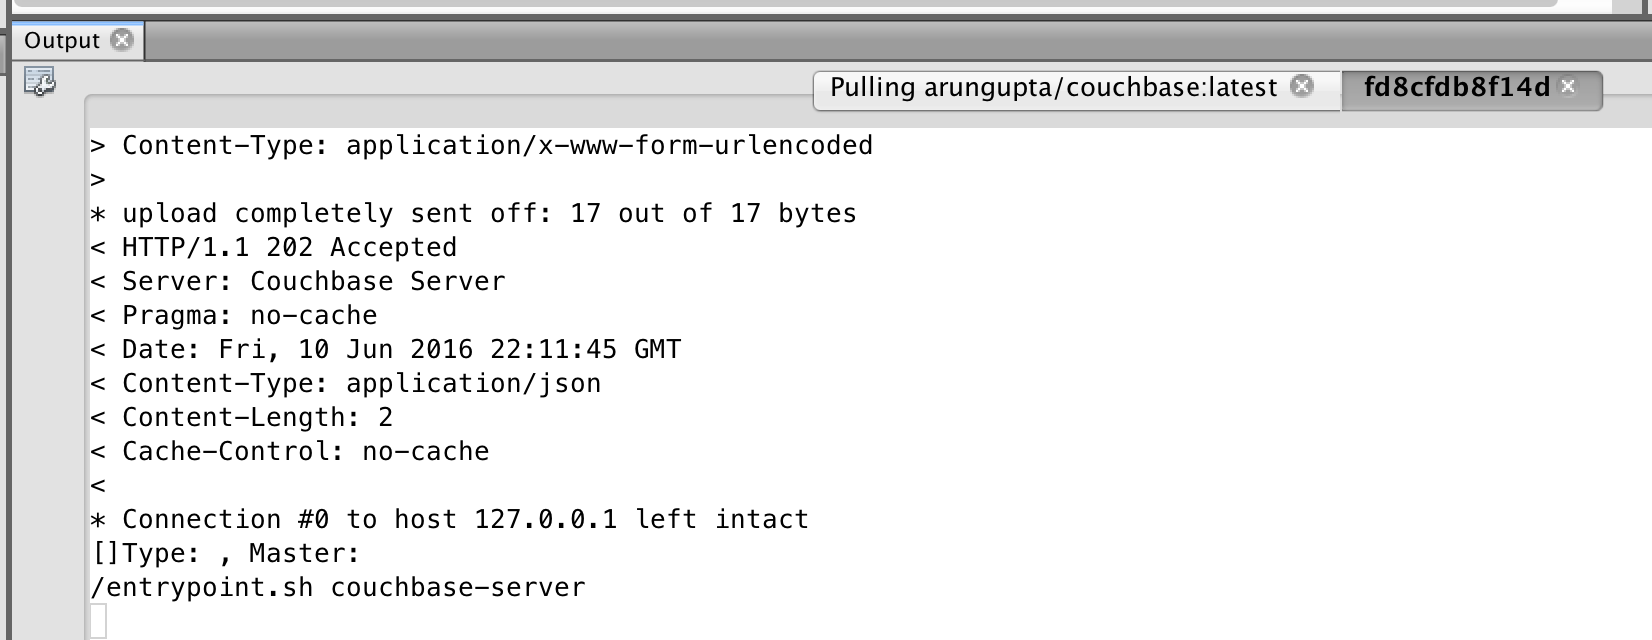
Right-click on the container, select “Show Log” to show the log generated by the container. The container can be paused and stopped from here as well.
Build an Image
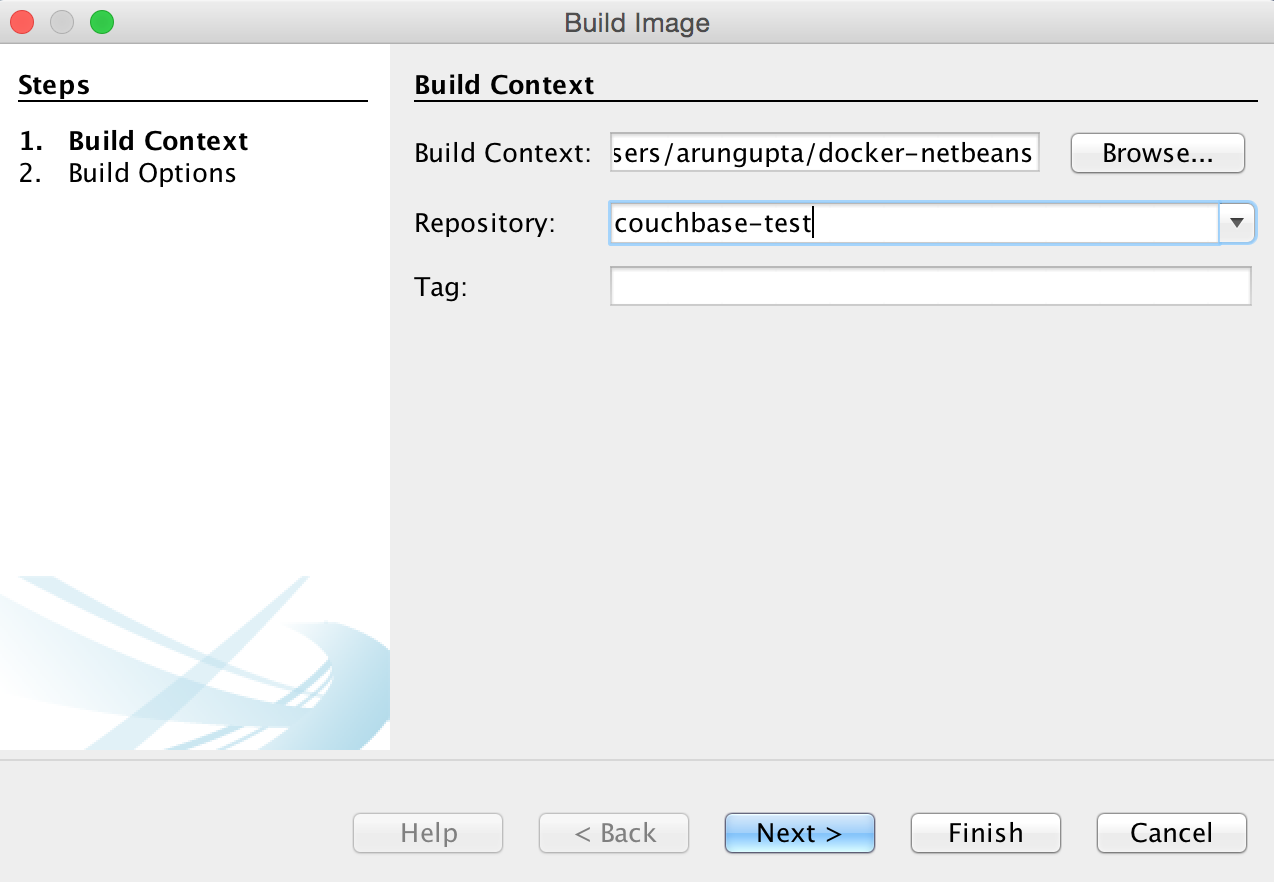
On the configured Docker Host, right-click and select “Build...” to build a new image:
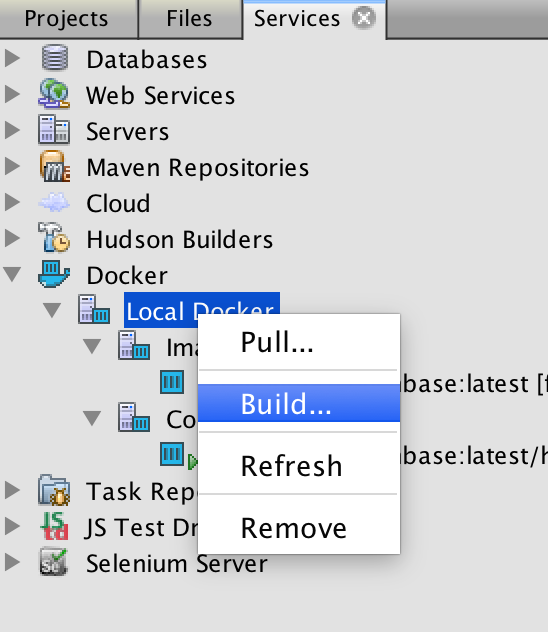
Specify a directory where Dockerfile exists, give the image name:
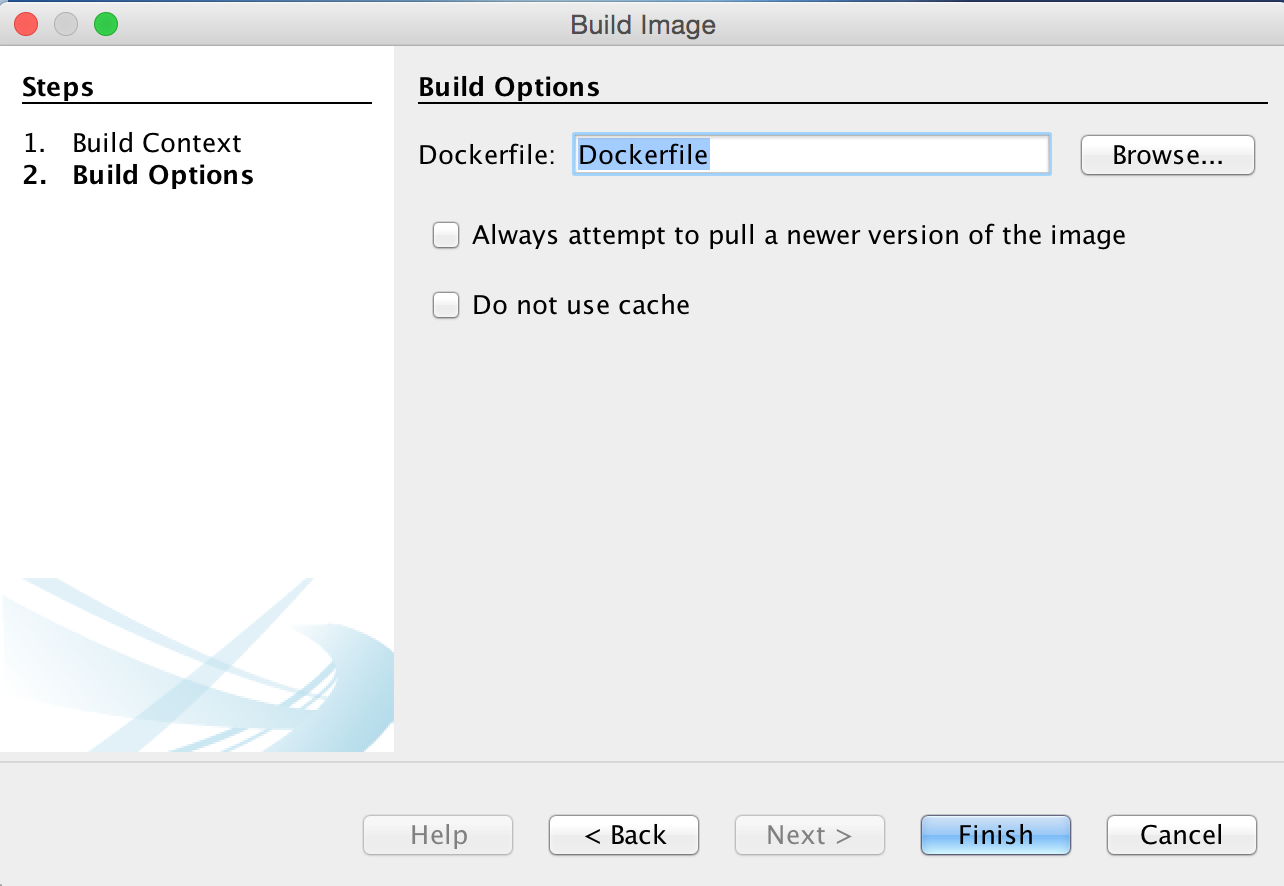
Click on “Next>”, choose the options that matter:
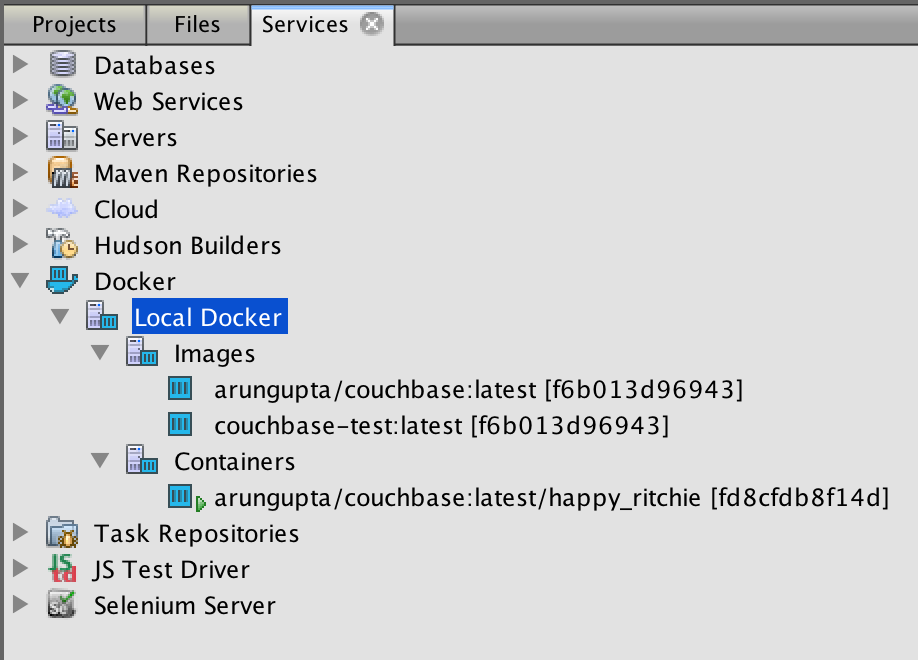
Click on “Finish” to build the image. The image is shown in the “Services” window:
Feedback
Was this page helpful?
Glad to hear it! Please tell us how we can improve.
Sorry to hear that. Please tell us how we can improve.